Selling stock images on multiple sites:
How to optimize your earnings with upstock.guru
Selling images on stock sites is a great passive income for: hobby and professional photographers, 3D artists and AI artists.
published by upstock.guru on: 25/01/2023This guide will demonstrate a very productive approach to sell stock images.
How much can you earn selling on stock sites?
Your earnings will depend on the quality and quantity of your stock image portfolio.
- You can sell photos, illustrations, videos, 3D renders and AI generated images
- Stock images should be clear, have a good lighting and marketable.
- Trendy topics and recurring events always sell best.
For example: let's assume you have 500-1000 approved stock images, and you are selling on 10 stock sites.
You can earn around $3-$30 a day, that's per stock site (depending on the quality and niche of your images).
That means it would make you a passive income of around $300-$3000 a month,
not counting the weekends and holidays which have lower sales, also some stock sites perform better, some worse.
Let's break down the process, so you have a better understanding of how to optimize your workflow, and submit stock images faster.
My example will use 10 images, but you can upload as many as you want, within the daily limits some stock sites have.
I assume you have created your stock sites contributor accounts (you can find the most popular sites in our list)
Step one:
Collect your images, and prepare them for submission
Images should be:
- JPG format
- 4K (3840 x 2160) resolution or above
- If there are recognizable faces, you will need a release form to sell them on stock sites
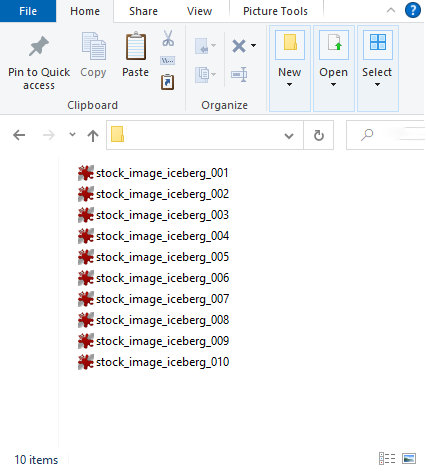
10 stock images I will use for this guide
Step two:
Add a title and keywords to the image metadata
This will make the stock submission x10 faster, since you won't have to add them 10 times (for each stock site)...
There are different tools to do this, I will let you choose your own.
- Title should be a 10-15 words, describing the image
- Keywords should accurately represent the image, 50 keywords max
It's important to make sure that your keywords and title accurately describe the image,
stock sites manually review each submission and images that do not accurately
represent their title and keywords will be rejected or not perform well in terms of sales.
The simplest way of adding metadata in Windows, is by right-clicking a JPG file and selecting properties, in the details tab you will see 2 fields, "Title" and "Tags":
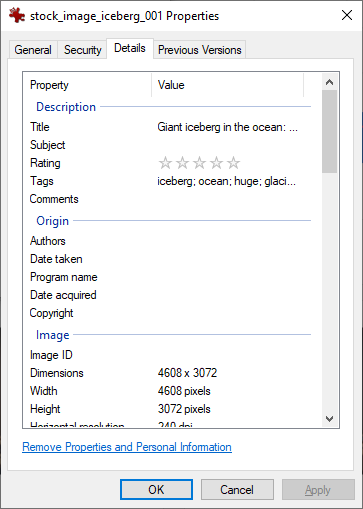
Image properties - details window
Tags are your keywords, they should be comma separated.
Step three:
Upload images to your DropBox
After connecting your DropBox account in upstock.guru dashboard, you will see a new folder:
"/Apps/upstock.guru/upload/"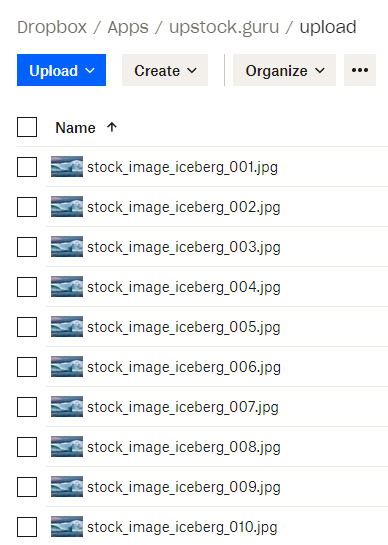
Files uploaded to dropbox
Step four:
Distribute images to all of your connected stock sites
Go to your upstock.guru account and make sure you have added all of your stock sites accounts in "FTP Servers" section, and that they are valid (green indicator)
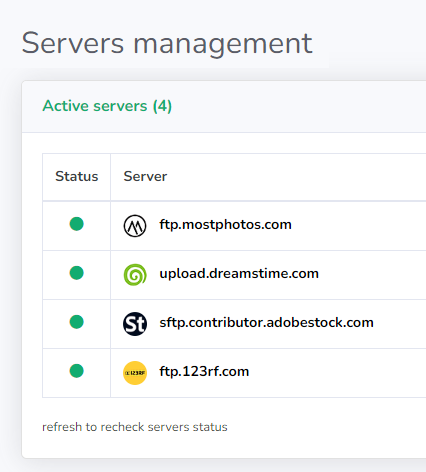
Activate servers list
Next click on "Upload Batches", "Batches" are a collection of up to 35 images, there are no limits on amount of batches.
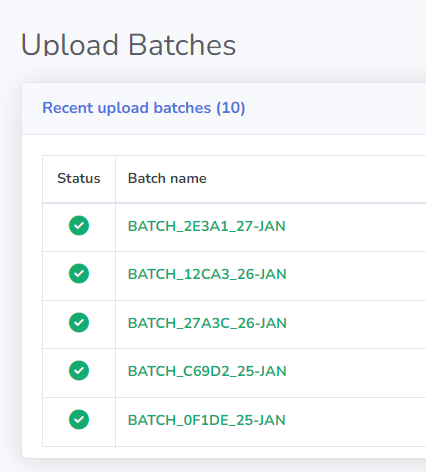
Upload batches list
You should see the files under "New upload batch" on the right, these are the files in your DropBox "/Apps/upstock.guru/upload/" folder that you will now add to a new batch
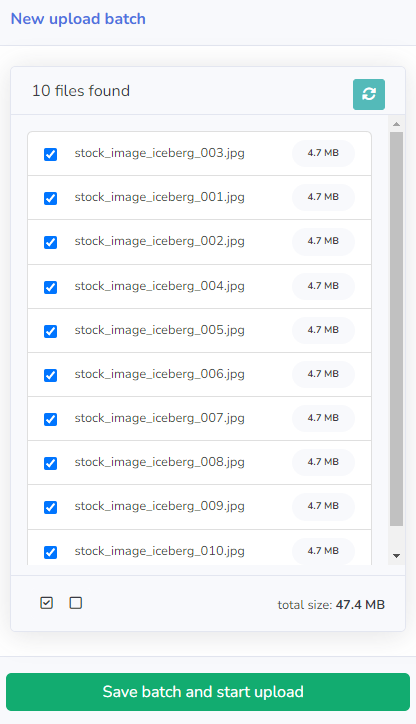
New upload batch list
Click on "Save batch and start upload" to distribute the files to all of your connected stock sites
Using upstock.guru is 100% free, all features and tools we provide are open to registered users.
Our only limitation is the bandwidth you use to distribute the images:
Each free user receives 2GB of free bandwidth a month! That's enough for around 500 images a month.
If you have a lot of images or uploading videos, and need more, we offer paid bandwidth packages,
starting from only $3 for 20GB additional bandwidth, and you will still receive the monthly 2GB for free.
Step five:
Submit the files for approval on stock sites.
This part is manual, go to each stock site dashboard and submit the files, you should do this after each new upload batch.
Submitting a small number of images at a time, can be efficient and minimize repetitive tasks.
However, waiting until you have a large number of images before submitting them, can become tedious and time-consuming.
This also allows you to double-check and catch any mistakes before submitting.
The submission process for stock sites can vary, some have a quick and straightforward process, while others require additional information such as categories
Approach each image as if it were a tangible product you were selling, taking the time to ensure that everything is accurate and polished before submitting.
By putting in this effort, you will likely see positive results in terms of sales.
You can follow the distribution process in "Upload History" section.
Step six:
Most important step in order to make more sales!
... See step #1 :)